

Lateral Pipe Lining: Sewer Service Line Repair Guide

Your home's sewer system extends far beyond the pipes inside your walls. The critical connection between your house and the municipal sewer main—called the sewer lateral or service line—represents homeowner-maintained infrastructure that's frequently overlooked until problems arise. When this buried connection fails through cracks, root intrusion, or deterioration, property owners face a choice: excavate under driveways and landscaping, or use modern trenchless technology to repair from inside.
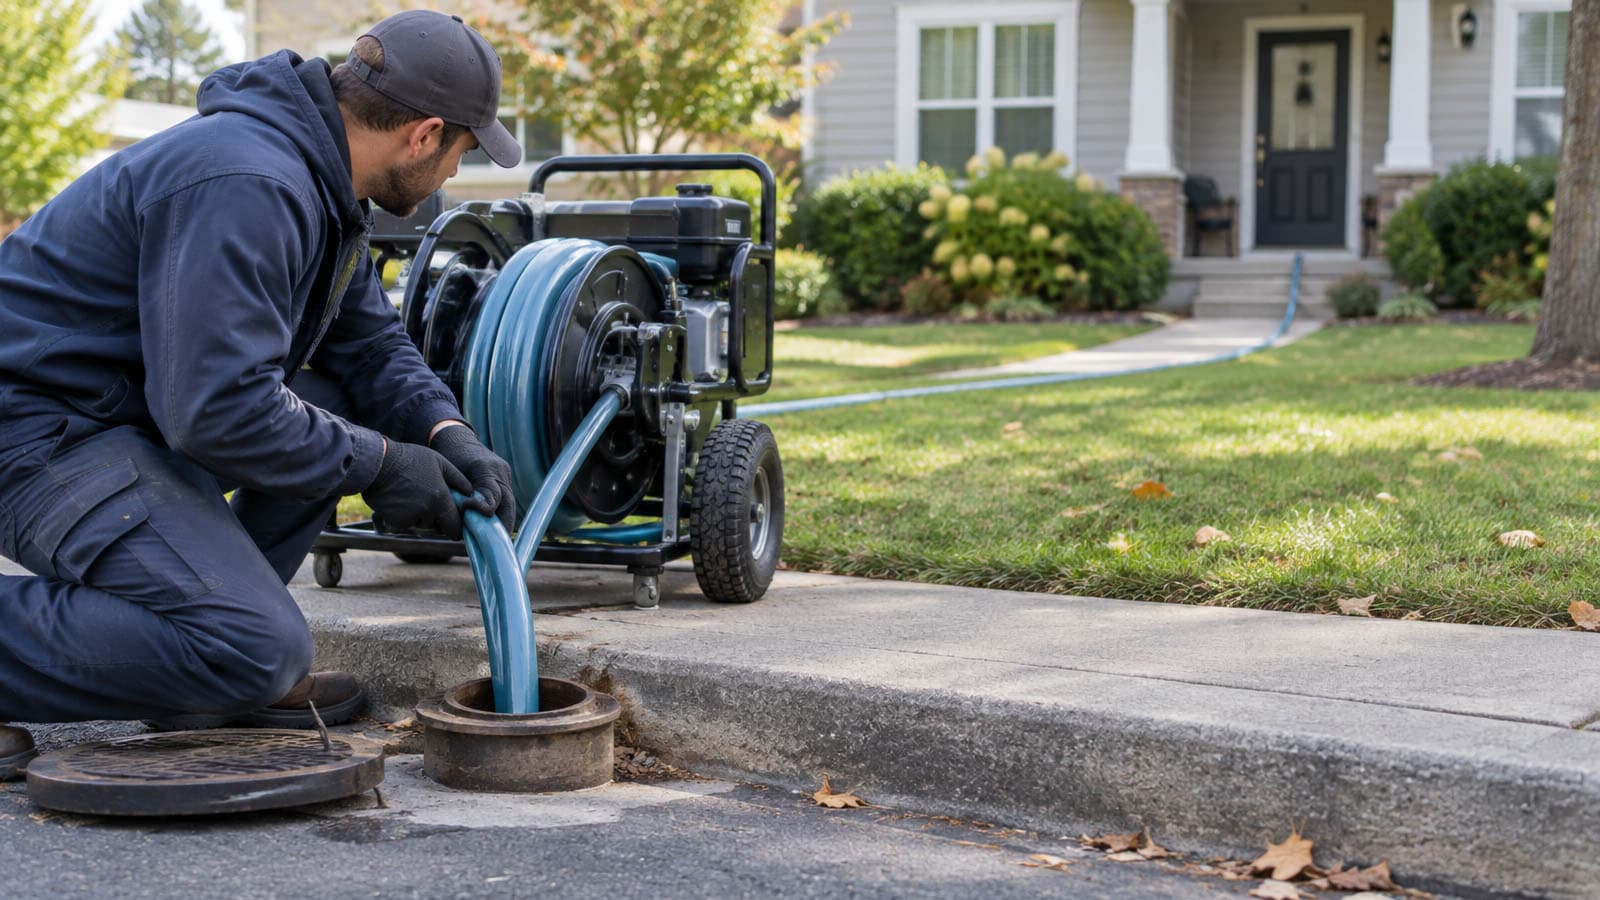
Lateral pipe lining provides a no-dig solution specifically designed for repairing residential sewer service lines. This specialized application of trenchless technology installs structural liners from your home's cleanout access point, rehabilitating the entire length of buried pipe without disturbing driveways, sidewalks, or landscaping.
Unlike main sewer line repairs that contractors access from manholes or streets, lateral lining works from your property—typically from a basement or yard cleanout. This residential focus makes lateral lining particularly valuable for homeowners wanting to avoid the disruption and expense of digging up established landscapes, concrete driveways, or decorative hardscaping to reach buried service lines.
Understanding Sewer Laterals
A sewer lateral—also called a service line or service connection—is the underground pipe that carries wastewater from your home to the municipal sewer main in the street. This pipe typically runs from your house's foundation, under your yard and driveway, to connect with the larger public sewer system.
Most residential laterals measure 40-100 feet in length, though properties with significant setbacks from streets may have longer runs. The pipe itself typically ranges from 4 to 6 inches in diameter—smaller than municipal mains but adequate for single-family residential flows.
Critical Ownership Distinction:
You own and maintain the entire lateral from your house to the connection point, even though much of this pipe runs under public property like sidewalks and streets. While municipalities maintain the main sewer lines, they typically hold homeowners responsible for lateral repairs and replacements. This private ownership of public-area infrastructure means lateral repair costs fall entirely on property owners.
Standard lateral construction uses 4-inch pipe for most residential connections, with 6-inch pipe common in larger homes or those with high fixture counts. Older homes may have clay tile laterals installed 50-100+ years ago, while newer construction typically uses PVC or ABS plastic pipes.
Common Problems:
Root intrusion at joints: The most frequent lateral problem involves tree root intrusion at pipe joints. Roots seek water and nutrients, finding both in sewer lines. Clay tile laterals with mortared joints are particularly vulnerable as roots penetrate joints, expand, and eventually crack or displace pipes.
Cracked or broken pipes: Age, ground settlement, freezing/thawing cycles, and traffic loads all contribute to pipe cracking. Clay pipes become brittle with age and crack under stress. Even relatively young PVC laterals can crack if improperly bedded or subjected to excessive loads.
Joint separation: Ground movement, poor initial installation, or deteriorated joint materials cause sections to separate. These gaps allow soil infiltration and create potential collapse points while permitting root entry.
Offset or misaligned sections: Differential settlement, nearby excavation, or tree root pressure can push pipe sections out of alignment. These offsets create flow restrictions and stress concentration points that accelerate deterioration.
Why Laterals Fail:
Age-related deterioration: Clay tile laterals installed 50-100 years ago were never designed for century-long service. The clay itself becomes friable and weak, while mortar joints deteriorate completely. Even "newer" cast iron laterals from the 1950s-1970s suffer severe corrosion.
Tree root damage: Mature trees near lateral paths cause extensive damage. Roots penetrate any opening—joints, cracks, or connection points—then expand inside the pipe. A single large tree can compromise 20-40 feet of lateral within 10-15 years.
Ground movement: Differential settlement, expansive clay soils, nearby construction, and tree root growth all create ground movement that stresses rigid pipe materials. Clay and cast iron, lacking flexibility, crack under these stresses.

The Lateral Lining Process
Phase 1: Inspection & Preparation
Every lateral lining project begins with camera inspection from your cleanout. The technician inserts a specialized sewer camera into your lateral, recording video as the camera travels to the main connection. This inspection identifies damage locations, documents pipe material and diameter, verifies alignment, and checks for conditions that might prevent successful lining.
Following inspection, technicians clean the lateral using high-pressure water jetting equipment. The jetting process removes debris, scale, roots, and any obstructions that would interfere with liner installation. Clean pipe walls ensure proper liner adhesion and allow the liner to conform to the pipe's interior shape.
Phase 2: Liner Installation
Contractors prepare the liner tube by saturating it with liquid epoxy resin in a controlled environment. The resin-saturated liner remains flexible for several hours before curing begins, providing the installation window. Technicians then position equipment at your cleanout and prepare to insert the liner.
Installation uses one of two primary methods:
Inversion method: This approach uses air or water pressure to invert the resin-saturated liner as it advances through the lateral. The liner essentially turns inside-out, pulling itself through the pipe. Inversion works particularly well for laterals with multiple bends or challenging configurations.
Pull-in-place method: This technique uses a cable attached to the liner's leading edge, pulling it through the lateral with a winch. Pull-in-place offers more control over liner placement and works well for straight runs or gentle curves.
Once positioned, technicians inflate the liner using air or water pressure, pressing it firmly against the host pipe walls. The inflation pressure—typically 3-10 PSI depending on diameter and depth—holds the liner in place during curing.
Phase 3: Connection & Completion
Once cured, the most critical step remains: reopening the connection to the main sewer line. The liner installation seals over this connection, requiring precise cutting to restore flow to the municipal system. Robotic cutting equipment travels through the newly-lined lateral, and using camera guidance, operators position the cutter at the main connection point and precisely cut through the liner material.
This robotic cutting creates a clean connection that's flush with the main line, allowing proper flow from the lateral into the municipal sewer. After cutting, technicians perform final video inspection to verify the connection quality and confirm the entire lateral is properly lined.
Lateral Lining vs Other Methods
| Feature | Lateral Lining | Traditional Excavation |
|---|---|---|
| Surface Disruption | No excavation - access from cleanout only | Trench through yard, driveway, sidewalk |
| Installation Time | 6-8 hours (single day) | 2-5 days plus restoration |
| Driveway Impact | No damage - preserved completely | Cut and removed - must rebuild ($3,000-8,000) |
| Landscape Impact | No impact | Destroyed - must restore ($1,000-3,000) |
| Total Cost | $3,000-6,000 | $8,000-15,000 (incl. restoration) |
| Warranty | 50 years typical | Varies by contractor |
| Service Restoration | Same day or next morning | Several days |
When Lateral Lining is the Clear Winner:
- Laterals under driveways: Preserves $3,000-8,000 in driveway replacement costs
- Established landscaping: Saves mature trees, gardens, irrigation systems
- Time-sensitive repairs: Same-day completion vs week-long excavation
- Moderately damaged pipes: Cracks, root intrusion, joint issues that lining addresses
- Winter repairs: Works in cold weather when excavation is difficult
While lateral lining offers tremendous advantages, certain situations still require traditional excavation:
Completely collapsed pipes: Sections that have collapsed completely prevent liner passage and equipment access. These require excavation to remove the collapsed section or replace the entire lateral.
Severely bellied sections: Major low spots where sewage pools prevent proper liner installation and compromise long-term performance. Excavation allows proper grading correction.
No cleanout access: Properties lacking cleanout access require excavation to create access points, potentially eliminating lining's advantage.
Severe misalignment: Sections that have separated or shifted dramatically may prevent liner installation equipment from navigating the lateral. Excavation allows realignment or replacement.

Lateral Lining Costs
Typical Cost Range
Lateral pipe lining typically costs $3,000-6,000 per lateral depending on length, diameter, access difficulty, and local market rates. This fixed-price approach differs from main line repairs quoted per linear foot, reflecting the unique economics of residential service line work.
Most residential laterals fall into the $3,500-4,500 range for standard 50-70 foot lengths with straightforward access. Shorter laterals (under 50 feet) may cost $2,500-3,500, while longer runs (80-100+ feet) can reach $5,000-7,000.
Cost Breakdown Components:
Camera inspection: $150-300 - Initial diagnostic inspection documenting pipe condition and confirming lateral lining feasibility. This video provides the critical information for planning the repair approach.
Cleaning/hydro jetting: $300-500 - High-pressure water jetting removes debris, roots, and scale, preparing the pipe for liner installation. Thorough cleaning ensures proper liner adhesion and complete pipe coverage.
Liner materials: $800-1,500 - The resin-saturated felt tube liner represents a significant material cost. Higher-quality resins and felt materials cost more but provide superior long-term performance. Liner thickness and quality affect both immediate cost and long-term durability.
Installation labor: $1,200-2,500 - Skilled technicians installing the liner, monitoring curing, and managing equipment comprise the major labor component. This includes equipment setup, liner inversion or pull-through, pressure monitoring during cure, and quality control.
Connection cutting: $200-400 - The robotic cutting operation reopening the main connection requires specialized equipment and skilled operation. This critical step ensures proper flow restoration and must be performed precisely.
Final inspection: $100-200 - Post-installation camera inspection verifying proper liner installation, connection quality, and complete coverage. This documentation confirms successful repair and provides warranty support.
Factors Affecting Lateral Lining Costs:
Lateral length: Longer laterals require more liner material and extended installation time. Each additional 10 feet typically adds $200-400 to the total cost.
Pipe diameter: 6-inch laterals cost 20-30% more than 4-inch lines due to larger liner requirements and more powerful installation equipment.
Access difficulty: Easy basement cleanout access keeps costs lower. Difficult access through crawl spaces, tight locations, or exterior cleanouts that require excavation to reach adds $300-800.
Pipe condition: Severely damaged pipes requiring extensive preparation, multiple cleaning passes, or spot repairs before lining increase costs by $400-1,000.
Cost Savings vs Excavation:
The true value of lateral lining becomes clear when comparing total project costs including restoration:
Total Cost Comparison:
Lateral Lining Total: $3,000-6,000 (all-inclusive)
Excavation Total:
- Excavation & pipe replacement: $3,000-5,000
- Driveway removal & replacement: $3,000-8,000
- Landscape restoration: $1,000-3,000
- Sidewalk repair: $500-1,500
- Total: $7,500-17,500
Savings with Lateral Lining: $4,500-11,500
Materials & Technology
Felt Tube Carriers:
Needle-punched polyester felt provides the most common liner tube material. Felt's porous structure absorbs and holds liquid resin while remaining flexible during installation. The material's strength prevents tearing during inversion or pull-through operations, while its thickness (typically 3-6mm) provides structural substance after curing.
Epoxy Resin Systems:
Two-part epoxy resins provide the structural strength and chemical resistance required for sewer applications. These thermosetting resins cure through chemical reaction (ambient cure) or heat acceleration (hot water cure), transforming from liquid to solid within several hours.
Epoxy formulations specific to lateral lining balance multiple requirements: pot life (working time before curing begins), cure time (duration until fully hardened), chemical resistance (withstanding sewage exposure), and structural properties (strength and flexibility).
Curing Methods:
Hot water cure: The most common method circulates heated water (180-200°F) through the inflated liner for 3-4 hours. The heat accelerates resin curing, creating a fully hardened liner in a single work day. This predictable timeline allows same-day project completion in most cases.
Ambient cure: This alternative uses room-temperature chemical reaction to cure the resin over 12-24 hours. Ambient cure eliminates heating equipment requirements and reduces energy costs but extends the timeline. Contractors typically install ambient-cure liners late in the day, allowing overnight curing.
Advantages & Limitations
Major Advantages:
- No excavation required: Completely avoids digging under driveways, sidewalks, and landscaping
- Driveway preservation: Saves $3,000-8,000 in concrete replacement costs
- Fast installation: Most projects complete in 6-8 hours vs several days for excavation
- Same-day service restoration: Plumbing returned to use same day or next morning
- Long-lasting repair: 50-year warranties typical, often outlasting traditional replacement
- Minimal property disruption: Technicians work from cleanout access - no heavy equipment
- Root-proof finish: Seamless epoxy liner prevents future root intrusion
- Year-round installation: Works in cold weather when excavation is difficult
Ideal Applications:
Lateral lining works best when laterals have moderate damage (cracks, root intrusion, joint issues), run under valuable hardscaping (driveways, patios, sidewalks), are accessible from cleanouts, have adequate remaining structural integrity, and when property owners want to preserve established landscaping.
Structural Requirements:
Lateral lining requires host pipes to retain minimal structural integrity—typically 40-50% remaining. While this threshold is lower than main line CIPP requirements, completely collapsed sections prevent liner installation and require excavation.
Access Requirements:
Properties must have cleanout access for equipment entry. Standard cleanouts work well, but very old homes may lack cleanouts entirely. Installing cleanouts requires excavation, potentially eliminating some of lining's advantages.
Configuration Limitations:
Severe bends (over 45 degrees), sharp direction changes, or complex configurations may prevent liner passage or equipment navigation. Pre-installation camera inspection identifies these limitations.
Diameter Reduction:
The liner thickness (typically 3-6mm) slightly reduces internal diameter. For most 4-6 inch residential laterals handling single-family flows, this minor reduction has no practical impact. However, undersized laterals already experiencing capacity issues may not be good lining candidates.
Frequently Asked Questions
Yes, lateral lining typically works from basement or crawl space cleanouts, allowing complete lateral rehabilitation without entering the house beyond accessing the cleanout. Contractors bring compact equipment through standard doorways and work in spaces as small as 3x3 feet. The work occurs at the cleanout location—usually in unfinished basement areas—with no need to access finished living spaces or plumbing fixtures.
No, lateral lining requires no excavation under driveways, sidewalks, or landscaping. The entire repair occurs from underground access via your home's cleanout, with the liner installed through existing pipe space. Your driveway remains completely untouched throughout the process. This preservation of expensive hardscaping represents one of lateral lining's primary advantages, saving the $3,000-8,000 typical for driveway removal and replacement.
Most lateral lining projects complete in 6-8 hours from equipment arrival through final cleanup. The typical timeline includes 1-2 hours for inspection and cleaning, 1-2 hours for liner preparation and installation, 3-4 hours for hot water curing, and 1 hour for connection cutting and final inspection. Properties can usually return to normal plumbing use the same day or following morning, depending on curing method and project timing.
Yes, lateral lining specifically addresses the connection point through precise robotic cutting that opens the liner at the main connection. The liner installation actually creates an improved connection by eliminating any gaps or misalignments at the junction. After curing, robotic cutting equipment precisely reopens the connection point, creating a clean transition from your lined lateral into the municipal main. This sealed, properly aligned connection often represents a significant improvement over the original deteriorated junction.
Yes, the seamless epoxy liner creates a completely smooth, jointless interior surface that prevents root intrusion. Unlike traditional pipe with joints that roots can penetrate, the cured liner has no weak points for roots to exploit. Even if roots remain in the soil around your lateral, they cannot penetrate the solid epoxy barrier. This root-proof finish represents one of lateral lining's significant long-term benefits, eliminating recurring root removal costs.
Lateral liners typically carry 50-year warranties and can last 50-100+ years under normal conditions. The epoxy resin systems used for lateral lining resist chemical attack from sewage, won't corrode like metal pipes, and maintain structural integrity indefinitely when properly installed. Many contractors consider properly installed lateral liners to be permanent repairs that will outlast the home's remaining service life. The liner often represents the last lateral repair a homeowner will need.
Conclusion: Protecting Your Hidden Infrastructure
Your sewer lateral represents critical infrastructure that homeowners own and maintain but rarely see or think about until problems arise. When this buried connection fails, lateral pipe lining offers a modern solution that rehabilitates the entire service line without the disruption and expense of traditional excavation.
The technology's ability to install permanent repairs from cleanout access—preserving driveways, landscaping, and property features while costing 40-60% less than excavation—makes it particularly valuable for residential applications. For homeowners facing lateral problems but dreading the prospect of torn-up driveways and destroyed landscapes, lateral lining provides a better solution.
Success with lateral lining begins with professional camera inspection to confirm your lateral is a suitable candidate, followed by selection of experienced contractors using quality materials and proper installation techniques. The investment in lateral lining protects your home's critical connection to municipal infrastructure while preserving your property's surface features and your peace of mind.
Ready to Find a Lateral Lining Contractor?
Connect with experienced lateral lining contractors who can inspect your service line and provide detailed proposals for trenchless rehabilitation.
Find Qualified Contractors